Early History of Photography
- Early Photography begins in the 9th century with Arabian scientist Alhuzen who developed what would become the camera obscura. The camera obscura is a dark room/space in which an inverted image was projected onto a surface.
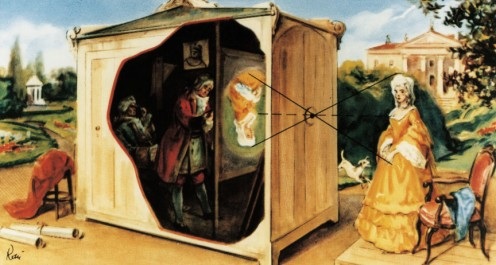
- During the Renaissance period (15th and 16th century) artists became increasingly interested in exploring and representing the reality of nature. Artists such as Leonardo Da Vinci developed various techniques to assist them in their quest for the perfect perspective by using objects such as the camera obscura. Leonardo Da Vinci also used the camera obscura for portraits.
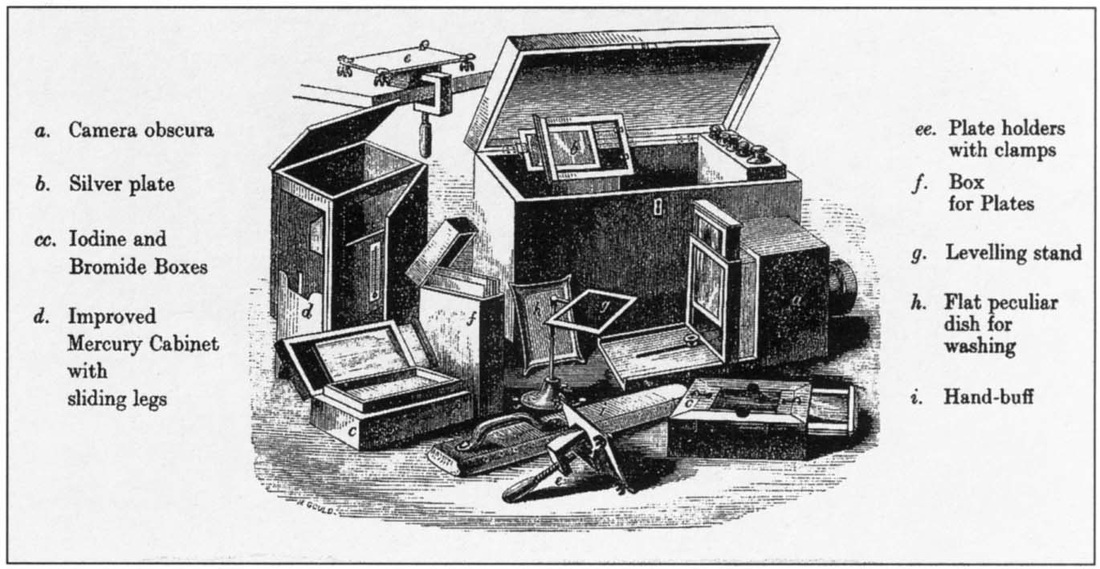
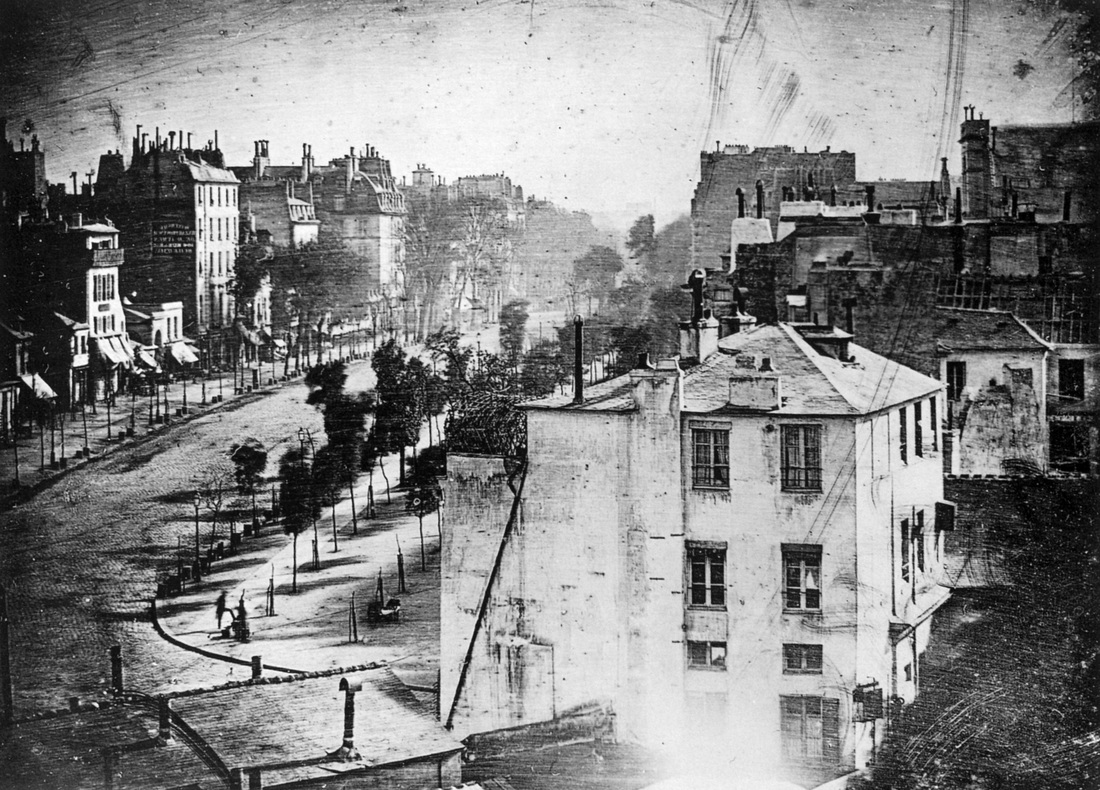
- Louis-Jacques-Mandé Daguerre was a French artist and photographer, recognized for his invention of the daguerreotype process of photography. He became known as one of the fathers of photography. The Daguerreotype process was the first publicly announced photographic process, and for nearly twenty years, it was the one most commonly used. It was invented by Louis-Jaques-Mande Daguerre and introduced worldwide in 1839.
- Henry Fox Talbot (b.1800) was a British scientist, inventor and photography pioneer who invented the salted paper and calotype processes, precursors to photographic processes of the later 19th and 20th centuries.
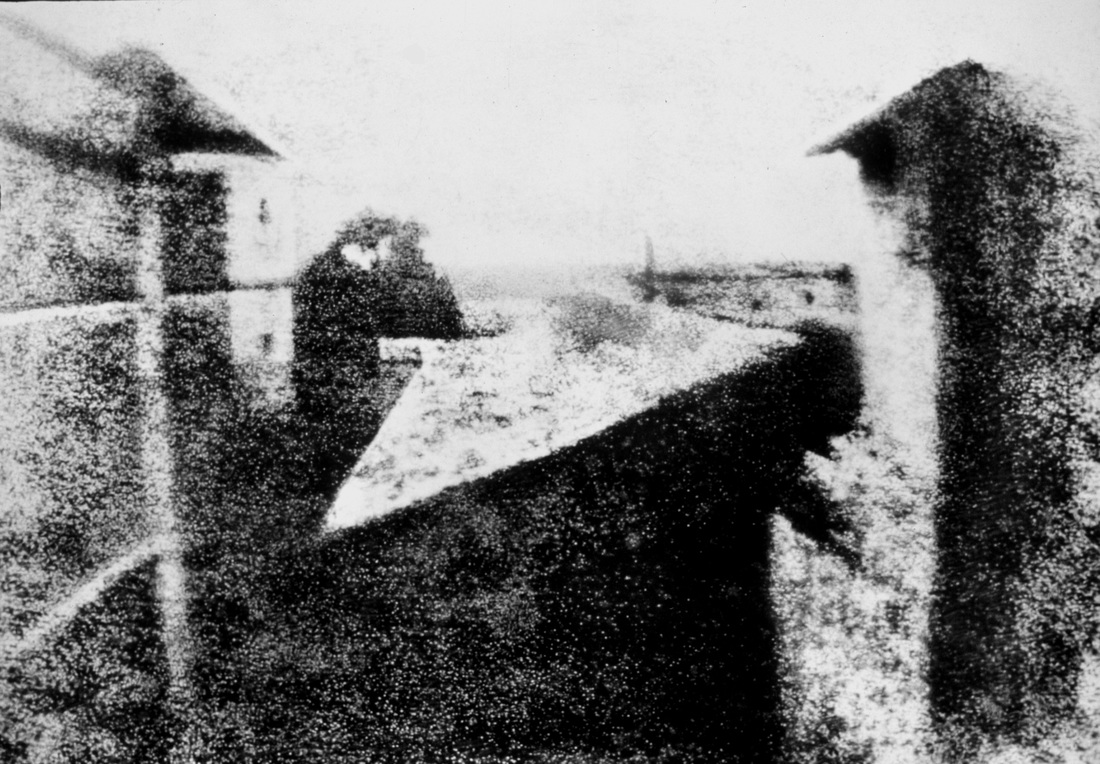
- In 1826 or 1827 the first ever photograph or more specifically the earliest known surviving photograph made in a camera, was taken by Joseph Nicéphore Niépce in 1826 or 1827. The image depicts the view from an upstairs window at Niépce's estate, Le Gras, in the Burgundy region of France.
- As time went on Camera's advanced and in December 1975 Steven Sasson, a worker at Kodak, created the world's first digital camera. This step forward deemed film now useless as almost countless photos could be taken through a digital sensor.
- DSLR's continued growing in popularity and in the current day and age the majority of people now use Digital Cameras due to them slowly becoming and eventually being cheaper to buy, cheaper to run (not have to keep buying film) and could last longer.
Leonardo Da Vinci's Camera Obscura Kit
The Daguerrotype Process
Oldest Surviving Photo by Joseph Nicéphore Niépce 1826/1827
First Fixed Photo Including A Person by Daguerre in 1838
The Salted Paper Process - Most Similar to Modern Day Darkroom
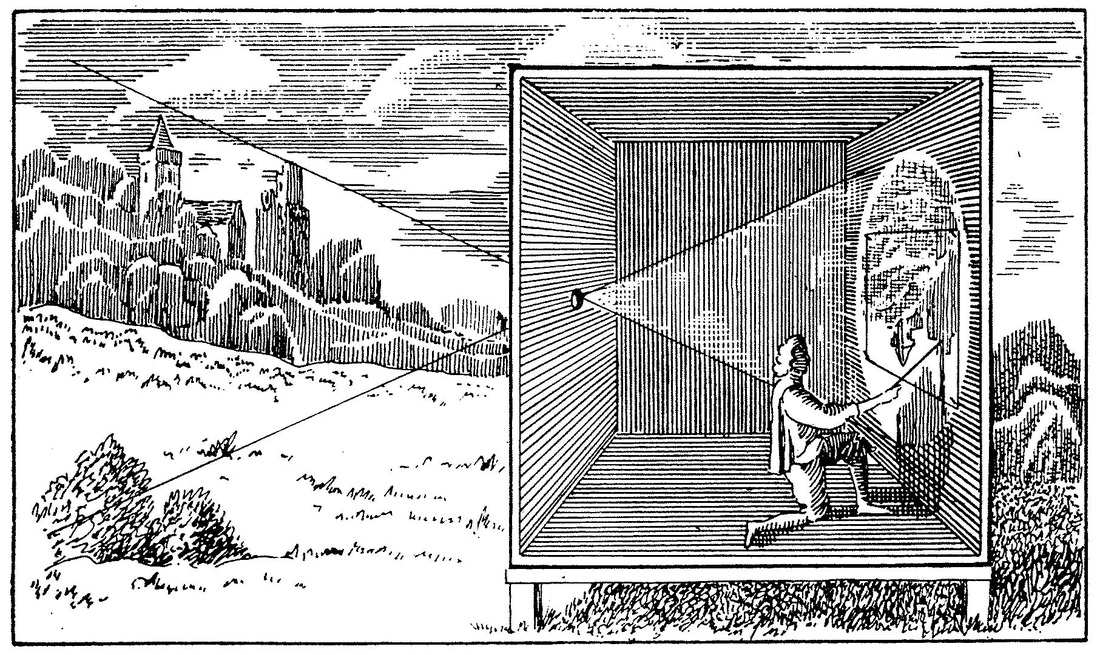
The Camera obscura
The Camera Obscura and How It Works
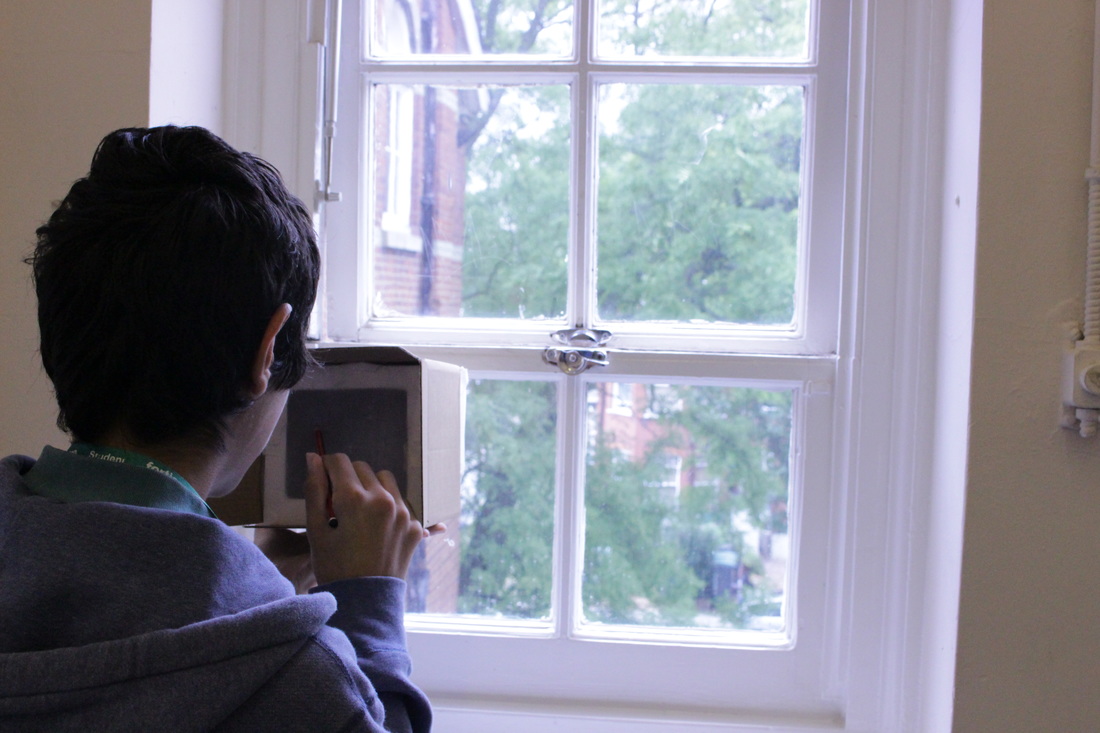
The camera obscura was almost the birth of photography and revolutionized it for the centuries to come. It was a simple darkened room or large space with a small hole facing the direction of what was wanted to be captured with a lens. This image is then reflected onto the back of the room but upside down due to light travelling in straight lines. Originally the image couldn't be taken off the wall but since the development of the area of keeping an image; we are now able to take that image away from where it has been projected on to as it is almost 'burnt' onto the paper. The camera obscura is creted using 7 materials and utensils which are:
-Cardboard
-Masking Tape
-Stanley Knife
-Tracing Paper
-Lens
-Pencil
-Ruler
The cardboard is folded into a cubic like shape, taped round the edges with one closed and one open side. Using the Stanley knife and ruler you cut a square hole in the closed side of the box, and tape a lens onto it. At the rear open end, tape tracing paper filling the gap. Once complete if you look at something with enough light/brightness the image will be placed onto the tracing paper for you to draw on. Although it will be upside down as the light travelled in a straight line and without a Pentaprism to flip the image it stays upside down.
Photograms and the darkroom
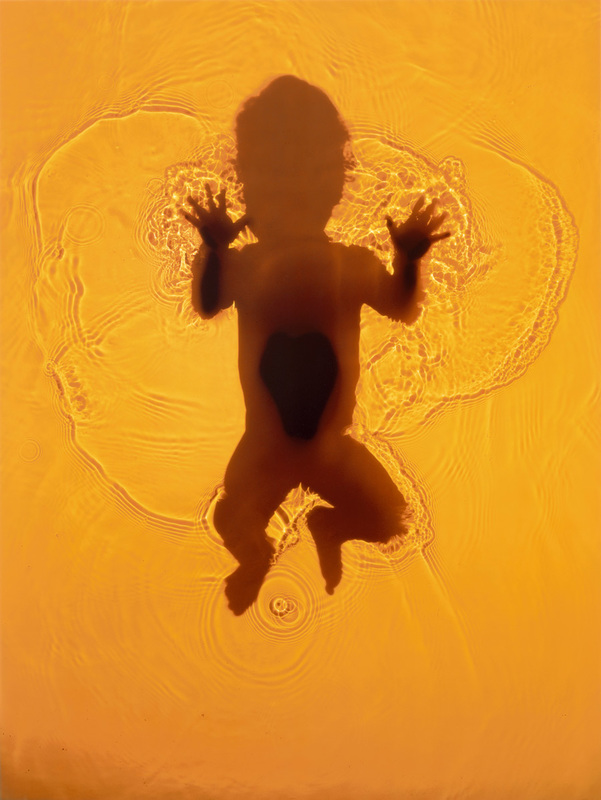
A Darkroom is a room not exposed to white light apart from through the Enlargers. Enlargers are used to expose white light on to white light sensitive paper in the image below. This photographic paper is covered in a coating of silver nitrate which reacts when exposed to white light, burning the image into the paper. Any light blocked by an image stays white where as all exposed areas of the paper turn black. This creation is called a Photo gram. These are then put into three different chemicals in this order and time span, Developer (2 minutes) which develops the photograph/gram, Stop (30 seconds) which stops the photograph developing and finally fix for 3 minutes to stop the photograph from burning when exposed to white light outside. Then wash off the remainder of chemicals left on the paper before taking to the dryer. Once dried, you have your completed photogram. As you expose the paper to more or less light you can see the darker photos (longer exposure) and lighter photos (shorter exposure). Famous photogram artists are Adam Fuss and many others with his work displayed on the 2 photos below. He used many different ways to create intriguing photograms.
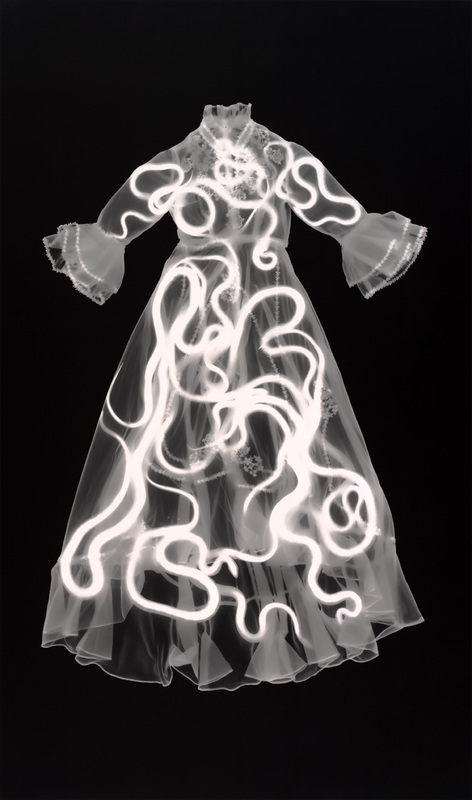
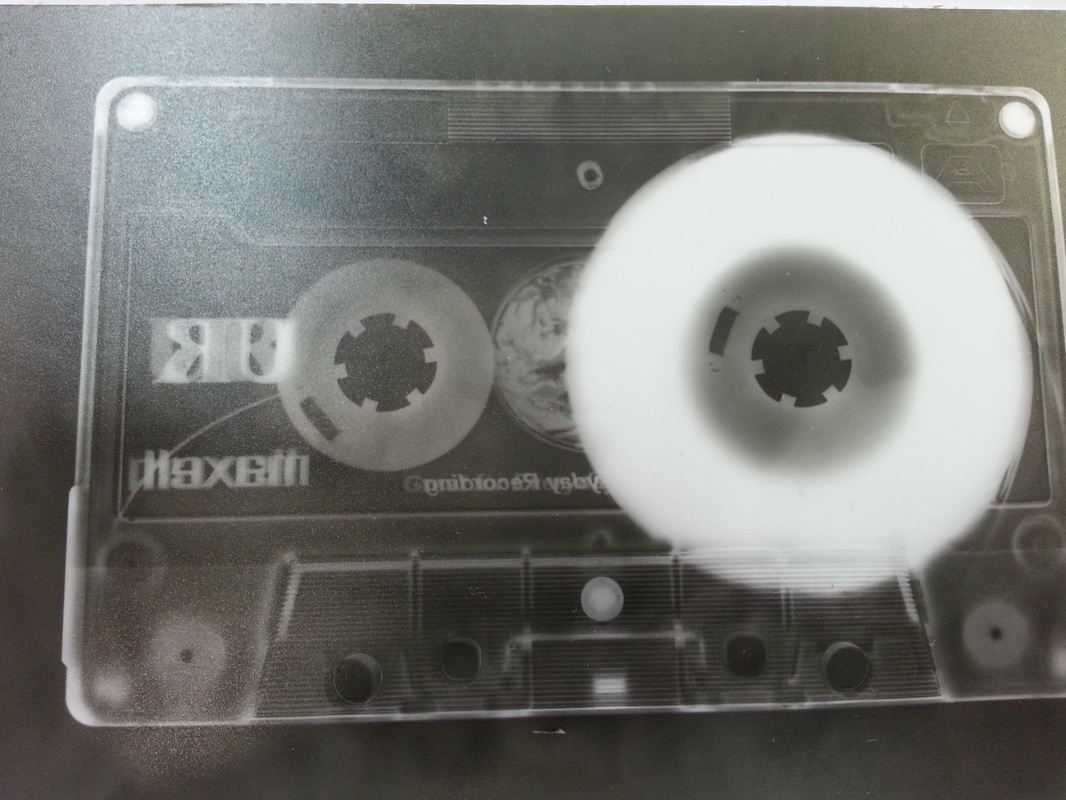
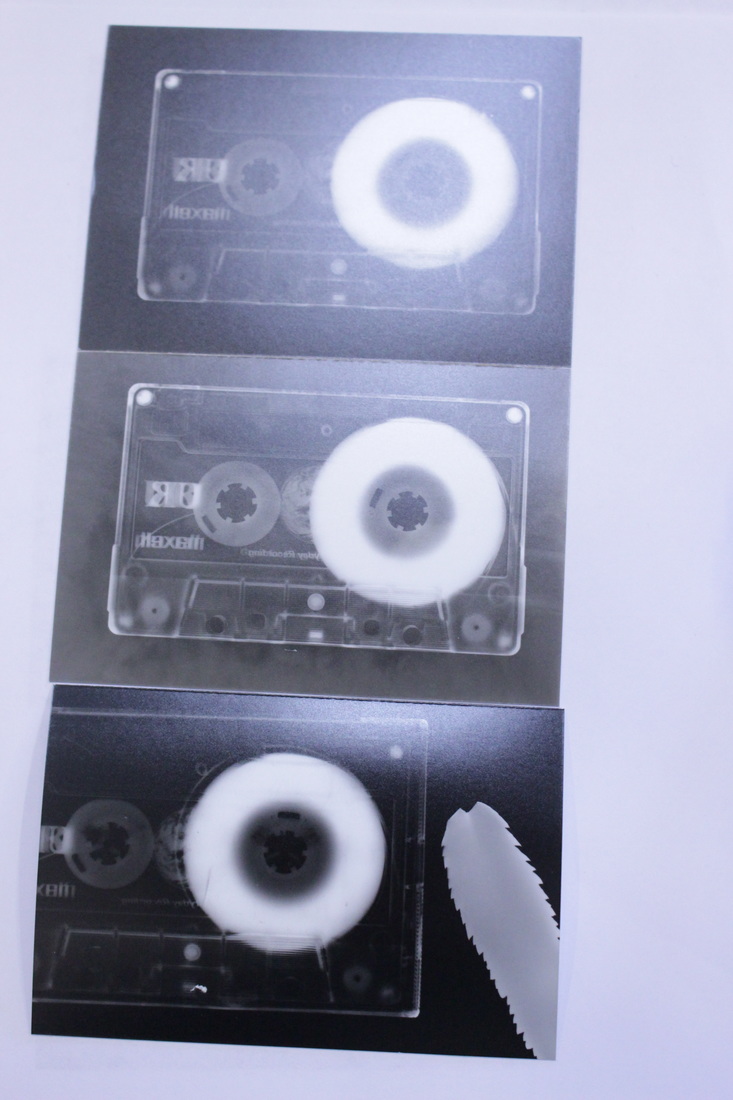
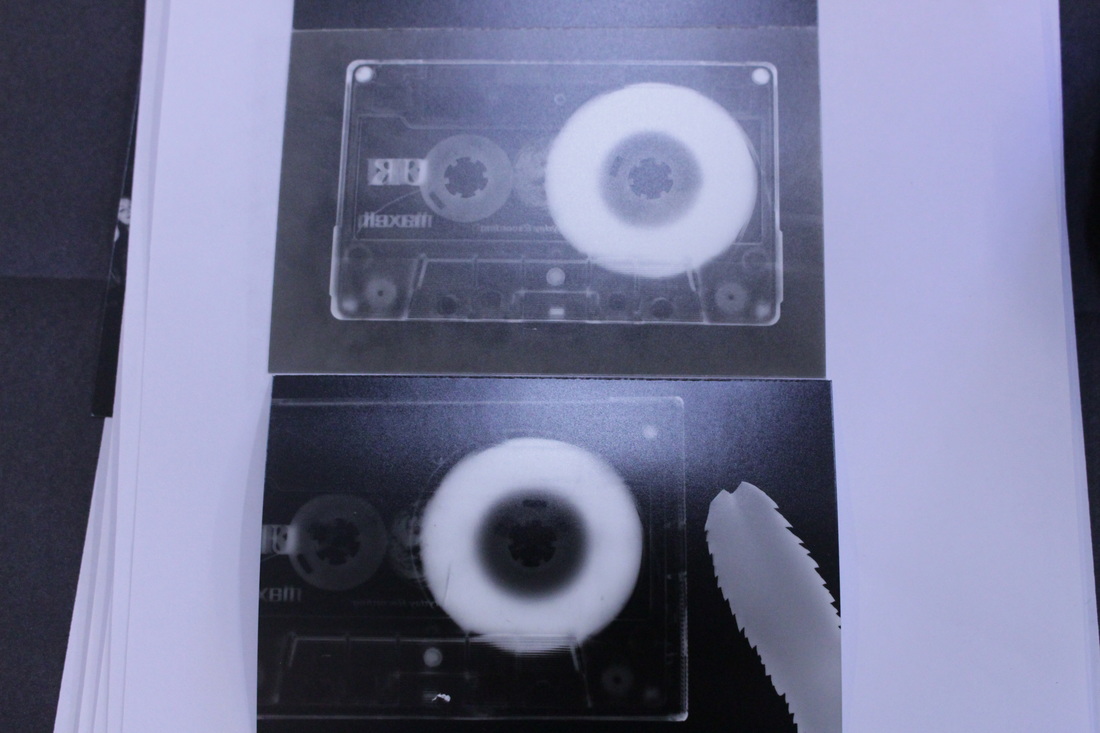
The three photos above show examples of photograms with a cassette with different times of exposure. The lighter ones having a shorter exposure time where as the darker ones, a longer exposure time.
In the Darkroom
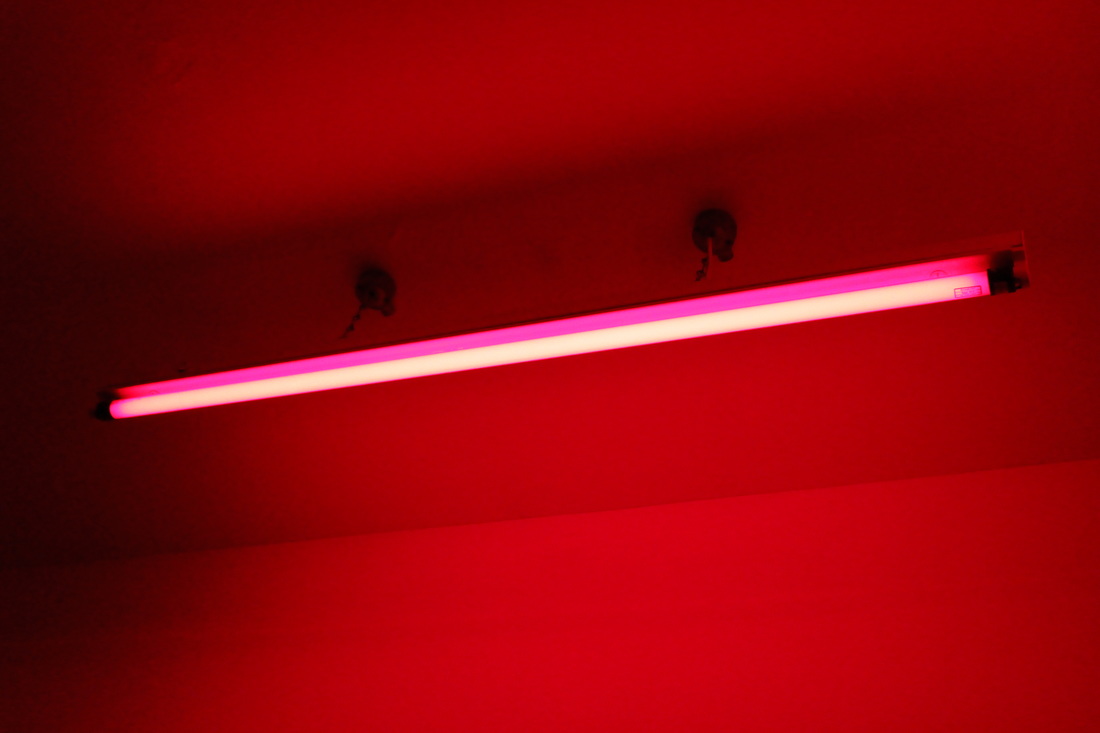
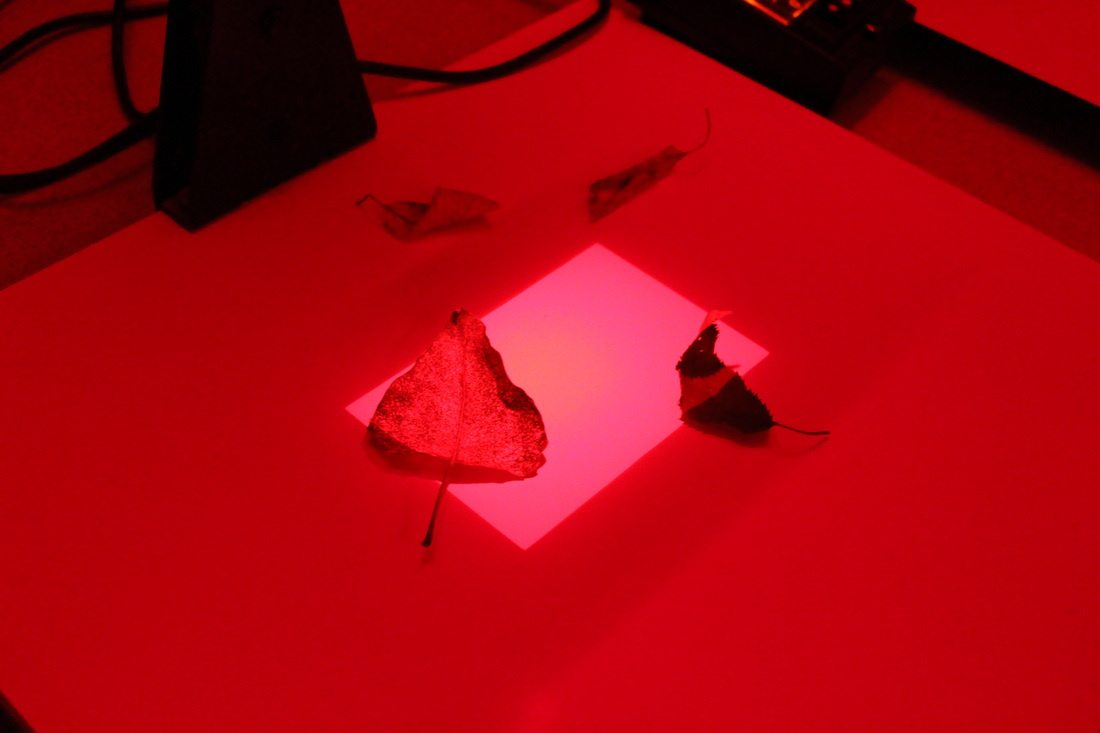
The image above, slightly pink, is the light in a darkroom. The reason it is red and not white or some other colours is due to the fact that if you had a white light all the photographic paper and enlargers would be useless as the moment the paper was taken out of its box it would be 'burnt' black and be un-useable.
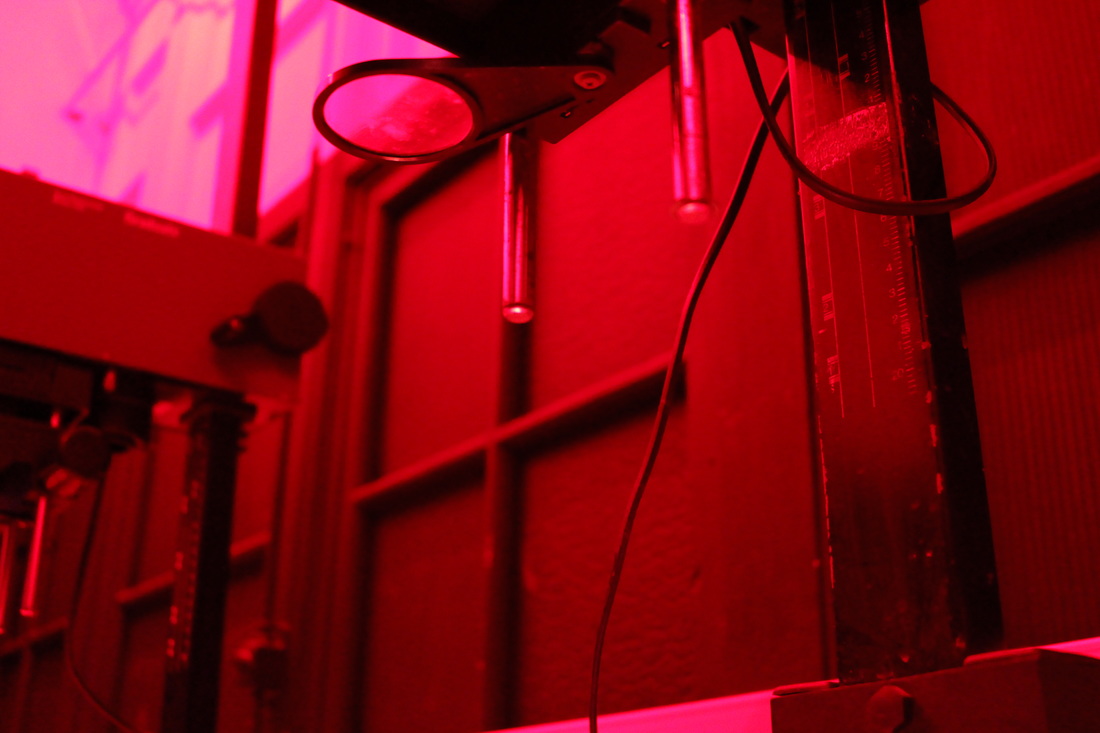
The image above displays the upper half of an enlarger consisting of the filter and stand. The filter acts as a shield against the light for a test to see how long the light will last without putting it on the photographic paper which would cause it to burn the image black or whatever is above it.
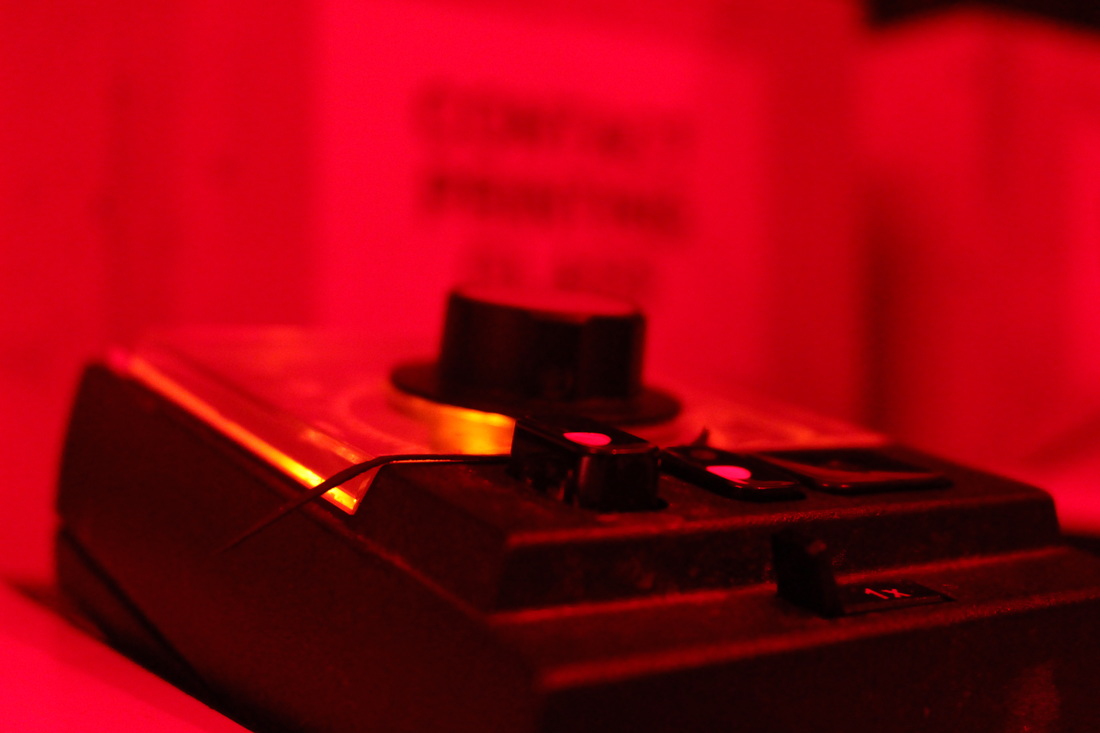
The photo above shows a timer in a darkroom connected to an enlarger denotes how long the bulb will be active for displaying white light onto the photographic paper and object on top of it. Working like a shutter it exposes the light for certain amounts of time, for example 1 second will create a very faded light photogram where as being exposed for example for 6 seconds, the full time on these timers would result in a very dark and less visible photogram.
The photo above depicts the base of the enlarger where the photographic paper and items are placed with the bulb and filter above. The filter prevents the paper from being burnt when experimenting with placing of objects. The Timer is then used between 0.1 and 6 seconds for a lighter or darker photogram. After this the photogram is put in the three chemicals, washed and dried.
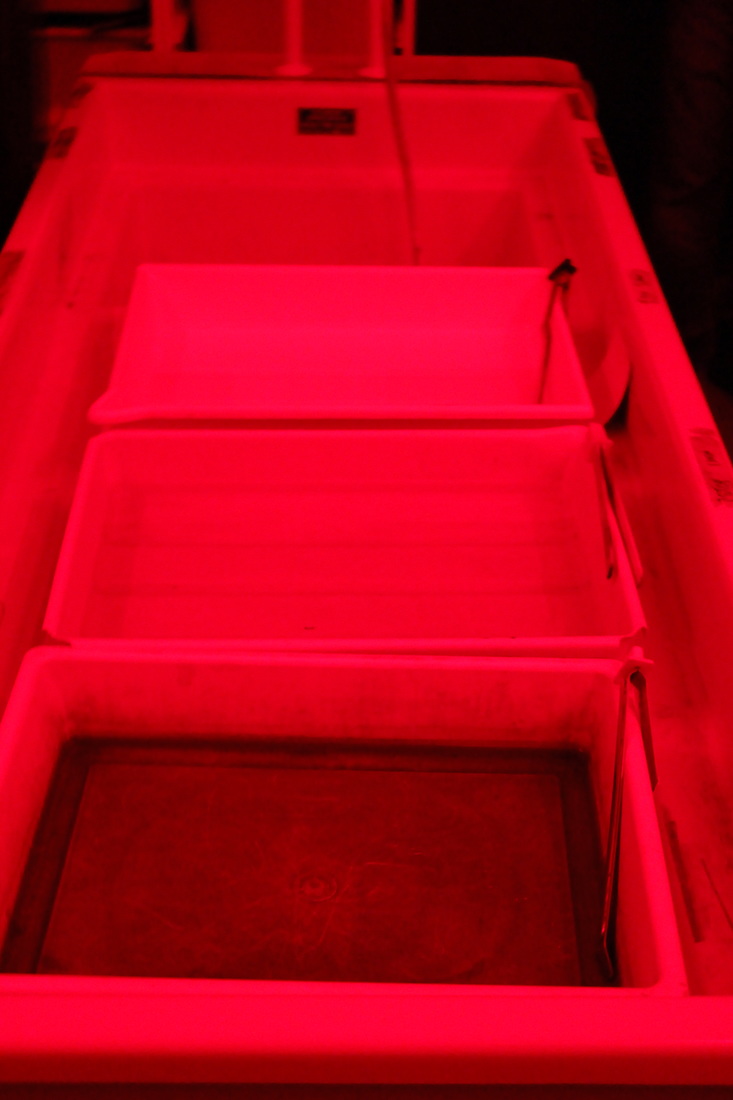
The photo above shows the three chemicals and water tap used in the modern day darkrooms. Chemicals consist of (in order from nearest to furthest) Develop, Stop, Fix and finally water. After this you have your completed photogram.
